Using Cloud Classification Tools on JuypterHub
This description is developed for the application of our cloud classification tool on DKRZ JupyterHub. However, it should be applicable for other jupyterhub serivces with minor changes.
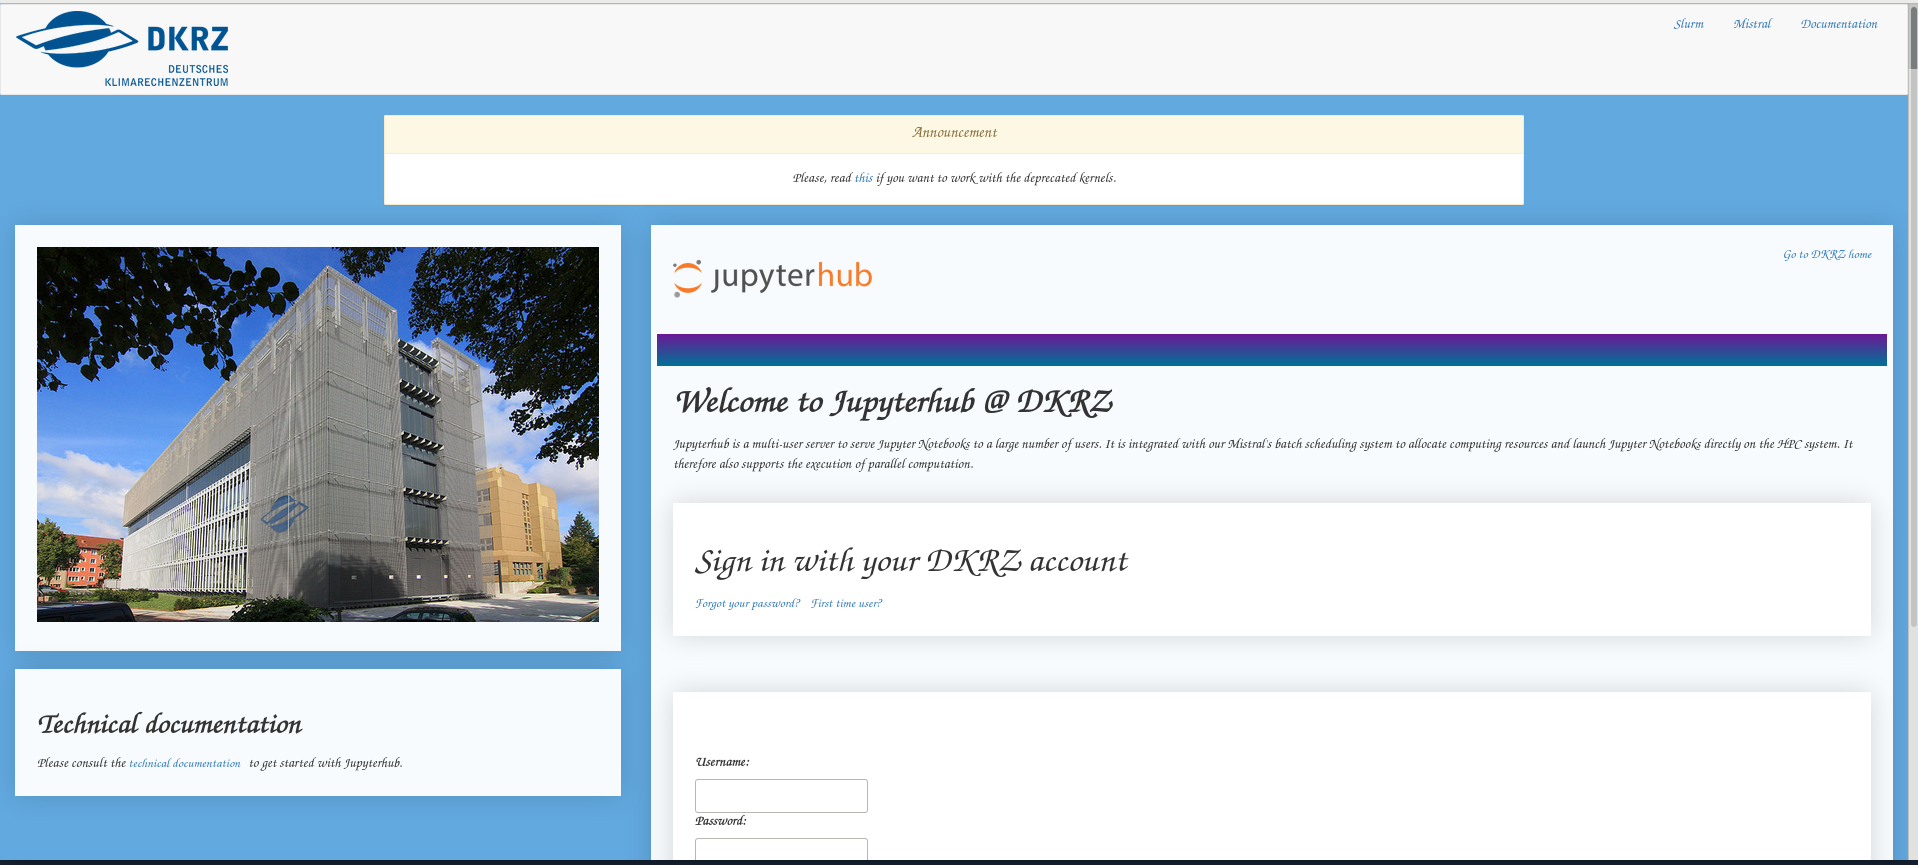
Login into JupyterHub
First, you need to log into JupyterHub following the link https://jupyterhub.dkrz.de and enter your account details.
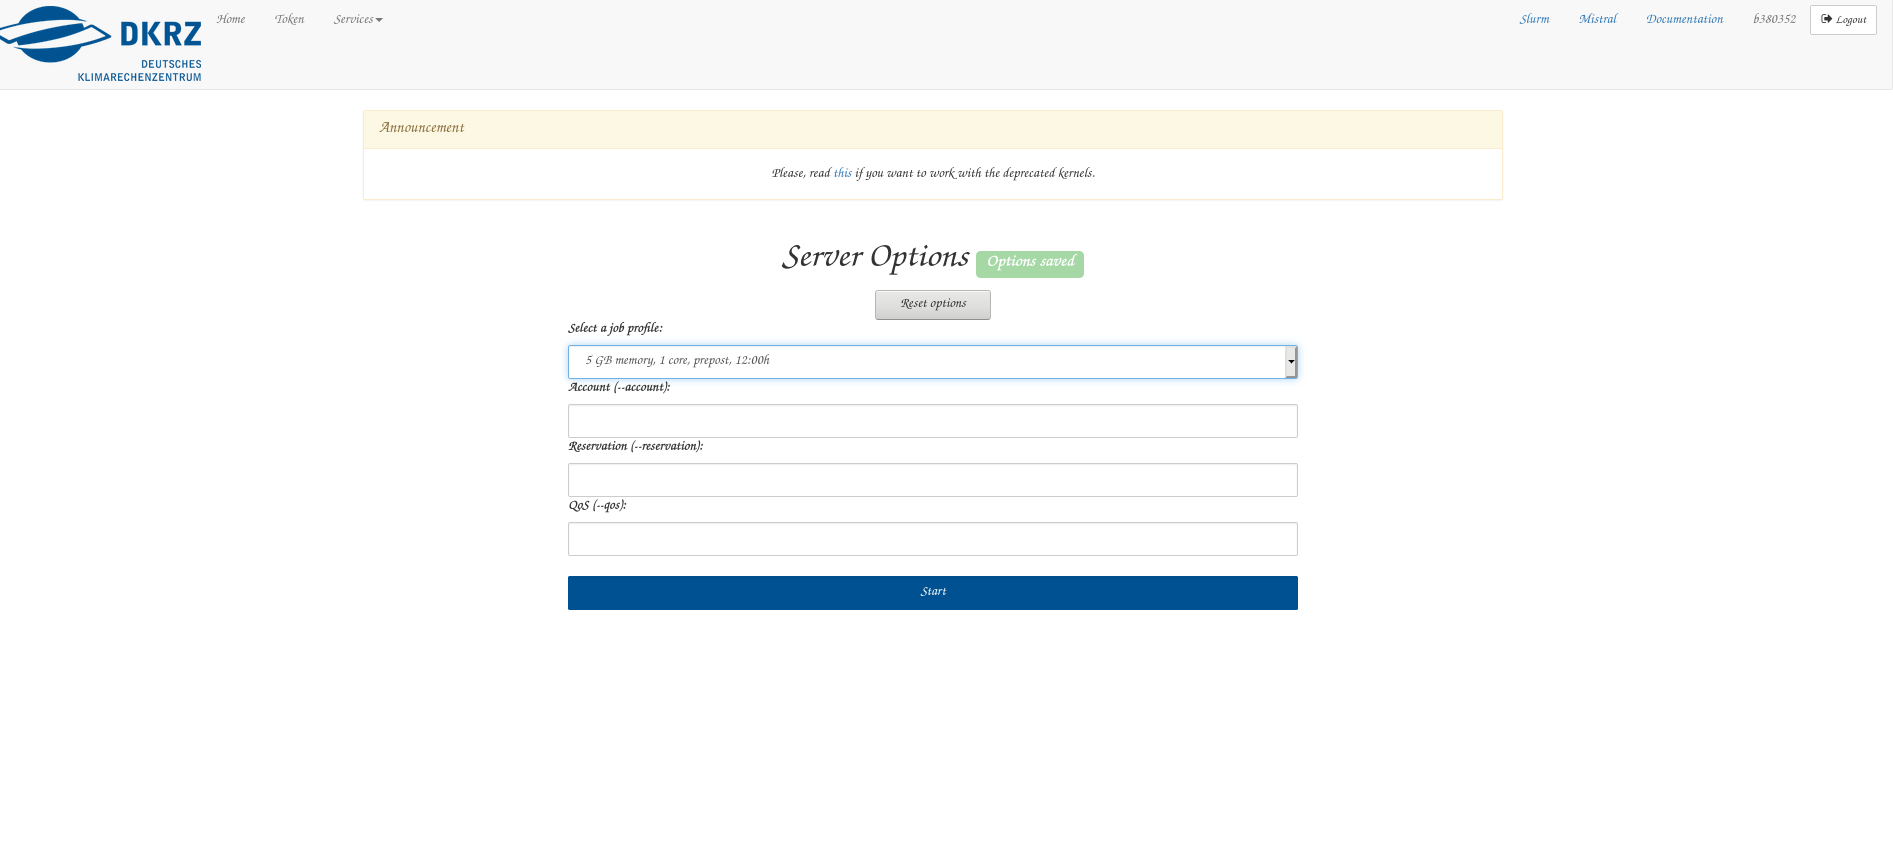
Second, you select a preset. I like the 5 GB, prepost setting.
Third, you open a terminal in your JuypterHub session (alternatively, you could login via
sshand use the ssh-terminal session)
Installation of Cloud Classification Software and Its Dependencies
Select a project location
<cloud_type_project_directory>. You might need to create a new one!> cd <cloud_type_project_directory>
Get the git repository (using
git clone)> git clone https://github.com/fsenf/CTyPyTool.git Cloning into 'CTyPyTool'... remote: Enumerating objects: 587, done. remote: Counting objects: 100% (587/587), done. remote: Compressing objects: 100% (270/270), done. remote: Total 587 (delta 296), reused 581 (delta 294), pack-reused 0 Receiving objects: 100% (587/587), 12.80 MiB | 19.00 MiB/s, done. Resolving deltas: 100% (296/296), done.
Perfect! The source is there!
Look at dependencies
The
PipFileonly namesnumpy&requestas dependencies, see> cd CTyPyTool > cat Pipfile ... [packages] requests = "*" numpy = "*" [dev-packages] [requires] python_version = "3.8"
Both might be part of the standard anaconda env. We ignore the dependencies, here. You might need to install the packages an other platforms.
The list of dependencies also looks a bit incomplete (TODO: check all loaded modules!)
Application 1: Run Example Cases with a Pretrained Tree Classifier
Download Data and Classifier
make a download folder (we assume that you are already in the
CTyPyTooldirectory)mkdir download cd download
start the download of zips with (currently located on swiftbrowser; later this will move on zenodo)
link="https://swiftbrowser.dkrz.de/tcl_objects/2023-10-14T14:41:05Z/r_7d20b33512e14d8b56ea40e25aa35978bfc3921f/w_/dkrz_d7550ef1-c227-4463-a6a7-29c14dc05fde/cloud_typing_project/11/classifier/"
wget -r -H -N --cut-dirs=3 --content-disposition --no-directories -I "/v1/" "${link}/?show_all"
The
*zipFiles contain pretrained classifiers. Theindex.html?show_allalso comes along but is not needed.let us extract the tree classifier
> unzip -d ../classifiers TreeClassifier.zip
Archive:  TreeClassifier.zip
   creating: ../classifiers/TreeClassifier/
   creating: ../classifiers/TreeClassifier/data/
  inflating: ../classifiers/TreeClassifier/data/classifier
  inflating: ../classifiers/TreeClassifier/data/label_reference.nc
  inflating: ../classifiers/TreeClassifier/data/training_data
   creating: ../classifiers/TreeClassifier/filelists/
  inflating: ../classifiers/TreeClassifier/filelists/evaluation_sets.json
  inflating: ../classifiers/TreeClassifier/filelists/input_files.json
  inflating: ../classifiers/TreeClassifier/filelists/label_files.json
  inflating: ../classifiers/TreeClassifier/filelists/training_sets.json
   creating: ../classifiers/TreeClassifier/labels/
  inflating: ../classifiers/TreeClassifier/labels/nwcsaf_msevi-medi-20190317_1800_predicted.nc
  inflating: ../classifiers/TreeClassifier/labels/nwcsaf_msevi-medi-20190318_1100_predicted.nc
   creating: ../classifiers/TreeClassifier/settings/
  inflating: ../classifiers/TreeClassifier/settings/config.json
  inflating: ../classifiers/TreeClassifier/settings/data_structure.json
Nice!
Get NWCSAF & Meteosat Data & Georef for Running the Examples
Extract the data:
> unzip -d .. data.zip
Archive:  data.zip
   creating: ../data/
   creating: ../data/auxilary_files/
  inflating: ../data/auxilary_files/lsm_mask_medi.nc
  inflating: ../data/auxilary_files/msevi-medi-georef.nc
  inflating: ../data/auxilary_files/msevi_georef.nc
   creating: ../data/example_data/
  inflating: ../data/example_data/msevi-medi-20190317_1800.nc
  inflating: ../data/example_data/msevi-medi-20190318_1100.nc
  inflating: ../data/example_data/nwcsaf_msevi-medi-20190317_1800.nc
  inflating: ../data/example_data/nwcsaf_msevi-medi-20190318_1100.nc
On the content:
> cd ../data
> tree
.
|-- auxilary_files
|   |-- lsm_mask_medi.nc
|   |-- msevi-medi-georef.nc
|   `-- msevi_georef.nc
`-- example_data
    |-- msevi-medi-20190317_1800.nc
    |-- msevi-medi-20190318_1100.nc
    |-- nwcsaf_msevi-medi-20190317_1800.nc
    `-- nwcsaf_msevi-medi-20190318_1100.nc

2 directories, 7 files
OK, the downloaded data contains a land-sea mask and a georeference in
auxilary_files/plus two Meteosat and NWCSAF cloud typing files for the Mediterranean region inexample_data/.
Run The Tests on JupyterHub
For the application 1 we will work with the notebook Application_of_a_pretrained_classifier.ipynb which shows how a pre-trained classifier is loaded and applied to example data.
Go through the following steps:
go to the JupyterHub browser tab and navigate to the
notebooksdirectoryopen the notebook
Application_of_a_pretrained_classifier.ipynband chosen a Python kernel (the default would bepython3/unstable)
finally run the notebook and watch out for errors!
Application 2: Change to a Forest Classifier and Run the Examples Again
Get the Forest Classifier Data
We assume that executed all steps mentioned above and that you
already downloaded the forest classifier
like to apply the forest classifier on the same example data
and now went back to your
downloaddirectory with the content:
> tree
.
|-- ForestClassifier.zip
|-- TreeClassifier.zip
`-- data.zip

0 directories, 3 files
For extracting the Forest Classifier, run:
> unzip -d ../classifiers ForestClassifier.zip
Archive:  ForestClassifier.zip
   creating: ../classifiers/ForestClassifier/
   creating: ../classifiers/ForestClassifier/data/
  inflating: ../classifiers/ForestClassifier/data/classifier
  inflating: ../classifiers/ForestClassifier/data/label_reference.nc
  inflating: ../classifiers/ForestClassifier/data/training_data
   creating: ../classifiers/ForestClassifier/filelists/
  inflating: ../classifiers/ForestClassifier/filelists/evaluation_sets.json
  inflating: ../classifiers/ForestClassifier/filelists/input_files.json
  inflating: ../classifiers/ForestClassifier/filelists/label_files.json
  inflating: ../classifiers/ForestClassifier/filelists/training_sets.json
   creating: ../classifiers/ForestClassifier/labels/
  inflating: ../classifiers/ForestClassifier/labels/nwcsaf_msevi-medi-20190317_1800_predicted.nc
  inflating: ../classifiers/ForestClassifier/labels/nwcsaf_msevi-medi-20190318_1100_predicted.nc
   creating: ../classifiers/ForestClassifier/settings/
  inflating: ../classifiers/ForestClassifier/settings/config.json
  inflating: ../classifiers/ForestClassifier/settings/data_structure.json
Prepations on JupyterHub:
Goto to your JuypterHub browser tab and select the checkbox of the notebook
Application_of_a_pretrained_classifier.ipynbPress the “Duplicate” button - you get a copy of this notebook
Click on the copy - it will open in a new browser tab
Rename the notebook e.g. to “Test_the_Forest_Classifier_Example” - click on the title on the top row, just right to the DKRZ logo
Testing the forest classifier notebook:
apply the following modifications:
Replace line in “In [3]:”
from
path = "../classifiers/TreeClassifier"
to
path = "../classifiers/ForestClassifier"
Replace line in “In [9]:”
from
ls ../classifiers/TreeClassifier/labels
to
ls ../classifiers/ForestClassifier/labels
press the run button and watch out for errors.
This takes slightly longer. I might change the descriptive text in markdown for your own reference.
Application 3: Examples for Plotting Classifier Labels
Plotting of labels and some rudimetary statistics is performed in the notebook Plotting_of_example_data.ipynb
If both prior application examples on the application of a pre-trained tree and forest classifier went well, then you just need to start the notebook Plotting_of_example_data.ipynb in your JupyterHub (selecting the default kernel) and run it. That`s it …